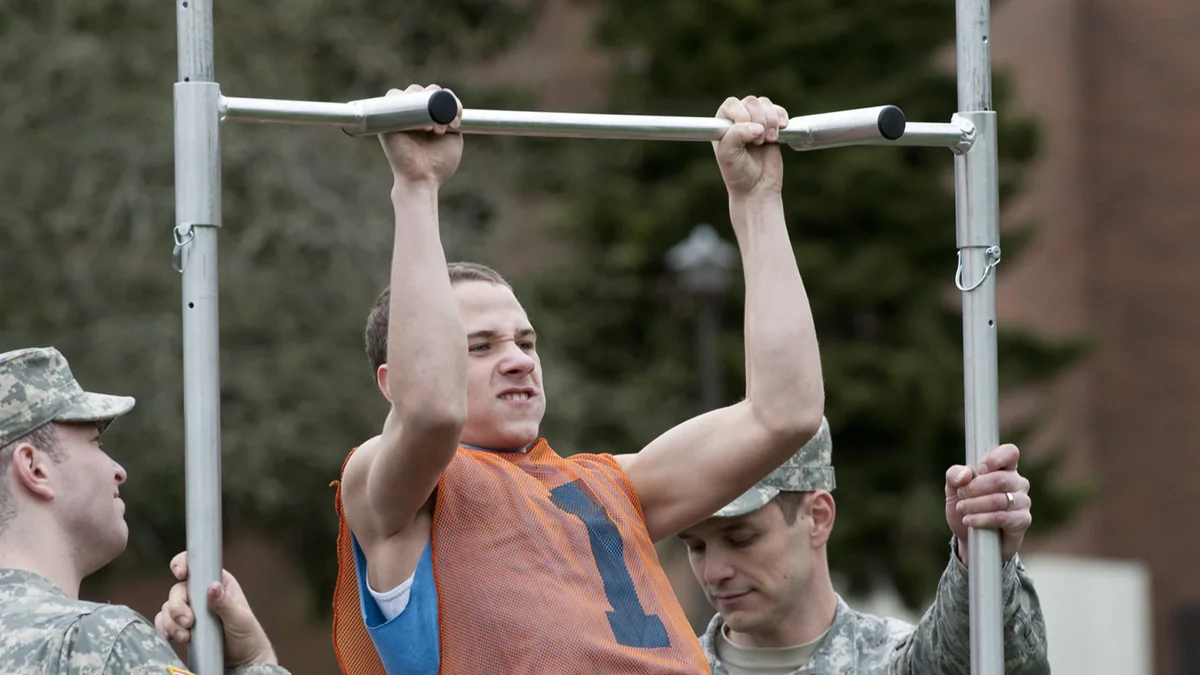
Pull-ups from zero: how to get your first pull-up (step-by-step plan)
Published on
The pull-up is unforgiving: either you move your whole bodyweight or you don't. But your first rep is almost never about talent, it's about method.
Few things are as frustrating in the gym as hanging from a bar, pulling with all your strength and not moving an inch. The pull-up is the exercise most people want to master and the one that resists the most, because it is unforgiving: either you move your whole bodyweight or you do not. There are no half measures and no machine assisting you by default.
The good news is that getting your first pull-up is almost never about talent, but about method. Most people who "can't do pull-ups" have simply tried them with no progression, hanging from the bar hoping one day it clicks. This article is the plan that actually works, laid out step by step, to go from zero to your first full rep and from there to real sets.
Why the pull-up is so hard
The pull-up requires moving 100% of your bodyweight in vertical traction, through a full range from straight arms to chin over the bar. That makes it a relative-strength exercise: what matters is not how much you lift in absolute terms, but how much force you produce relative to what you weigh.
That is why two people equally "strong" on the bench press can have opposite results on the bar: someone lighter with a developed back does them easily, while someone carrying more bodyweight needs to produce far more force for the same movement. Understanding this removes the guilt and organises the work: you need to raise your pulling strength and, if appropriate, adjust body composition.
The key idea: the pull-up is not trained by "attempting it". It is trained by building pulling strength with exercises you can load and progress, and by practising the pattern with assistance you gradually reduce. The bar is the exam, not the study method.
What muscles the pull-up works
The pull-up is one of the most complete upper-body exercises. The main engine is the latissimus dorsi, the large back muscle responsible for shoulder adduction and extension. But it does not work alone: the teres major, the lower and middle trapezius, the rhomboids, the biceps brachii and brachialis, and the forearm - which holds all the weight in the grip - all take part.
On top of that, the core works intensely to prevent swinging and keep the body rigid. That is why a strict pull-up teaches so much: it forces you to coordinate back, arms and abdomen in a single movement. In practice, it is a hard-to-cheat test of upper-body relative strength.
The mistake of just hanging from the bar with no plan
The most common mistake is the most logical one: someone who wants to do pull-ups hangs from the bar and tries to pull up. They fail, repeat it for a few days, do not progress and conclude they are "not built for pull-ups". The problem is not the body, it is the absence of progression. It is like trying to learn to squat 100 kg by loading 100 kg every day to see if one day it goes up.
Strength is built by progressive adaptation: applying a stimulus you can execute today and increasing it over time. For the pull-up, that means starting with easier variations you can do with good technique, and reducing the assistance week by week until the bare bar stops being a wall.
The progression that actually works
These are the steps, from most assisted to most demanding. You do not have to go through all of them or in strict order: they combine according to your starting point, but the logic is always to reduce assistance and gain strength.
| Step | What it is | Target before advancing |
|---|---|---|
| 1. Dead hang | Hang from the bar with straight arms and active shoulders | Hold 30-40s: builds grip and gets the shoulder used to the load |
| 2. Row and lat pulldown | Dumbbell or barbell row and cable lat pulldown | Pulldown with 80-90% of your bodyweight for 8-10 reps |
| 3. Band-assisted pull-up | A band hooked to the bar assisting the bottom phase | 3 sets of 8 with a thin band; reduce band thickness as you progress |
| 4. Negatives (eccentrics) | Jump to the top and lower as slowly as possible (4-6s) | 3-4 controlled 5s negatives: the step that gets you closest to the first pull-up |
| 5. Full pull-up | Strict pull from straight arms to chin over the bar | Your first rep! Sets are built from here |
The highest-yield step: negatives. Your eccentric strength (lowering) is greater than your concentric strength (pulling up), so you can control the descent long before you can pull up. Practising slow 4-6 second descents builds exactly the strength you need for the pull. It is the honest shortcut to the first pull-up.
Band or assisted machine: which to choose
Both reduce the effective load, but in different ways. The band assists more at the bottom (where it is most stretched) and less at the top, the opposite of where most people struggle; even so, it is cheap, versatile and does the job. The assisted pull-up machine offers constant, adjustable assistance in kilos, which allows very measurable progression: just lower the counterweight every couple of weeks.
If you have access to the assisted machine, use it for measurable progression and keep the band for when you train without it. What matters is not the tool, but reducing assistance systematically: that reduction is the progression.
Pull-up versus lat pulldown: are they the same?
The cable lat pulldown replicates the pull-up pattern, but with one key difference: you choose the load. That makes it irreplaceable for building pulling strength when you still cannot manage your bodyweight, and for accumulating volume once you already do pull-ups. They are not rivals: they are complementary.
The practical rule: use the pulldown to gain lat strength and volume with controlled load, and practise the pull-up (assisted or full) to master the real pattern with your bodyweight. When the pulldown exceeds your bodyweight for several clean reps, the first pull-up is usually very close.
Pronated or supinated: pull-up versus chin-up
The grip changes the lead muscle. The pronated pull-up (palms facing away) loads the lats more and is usually the hardest. The supinated chin-up (palms towards you) recruits the biceps more, which for many people makes the first rep more accessible. The neutral grip (palms facing each other) sits in between and is usually the kindest on the shoulder.
If your goal is to hit your first rep as soon as possible, starting with the supinated chin-up is a legitimate strategy: the extra biceps help makes that first milestone easier, and from there you progress towards the pronated grip. It is not "cheating", it is choosing the right step.
How often to train pull-ups per week
Vertical pulling responds well to frequency. Training the pattern 2-3 times a week, with a rest day between sessions, lets you practise the technique often without accumulating excess fatigue in the elbows and shoulder. The key is for each session to be high quality: clean reps, full range, no swinging.
A simple scheme: two days of pulling strength (pulldown, row, negatives or assisted pull-ups) and, if you train a third day, lighter technique and grip work. With this frequency, most consistent people achieve their first pull-up in 8 to 12 weeks starting from zero.
The mistakes that keep you from the first pull-up
- Only attempting full pull-ups: with no progression, you repeat the failure. Use negatives, band and pulldown to build the strength.
- Incomplete range: half a pull-up is not a pull-up. Count from straight arms to chin over the bar; half range fakes the progress.
- Swinging (kipping): using your legs to swing turns it into a different exercise. To build strength, the strict pull-up is the one that counts.
- Neglecting the grip: if your hands give out before your back, work the dead hang and grip. It is a very common and easily improved limiter.
- Ignoring bodyweight: the pull-up is relative strength. If your body-fat percentage is very high, losing some fat while keeping muscle makes every rep easier.
From 1 to 10 pull-ups: what changes
Getting the first rep is a milestone, but going from 1 to 10 is another game: there you no longer build only maximal strength, but strength endurance. The strategy that works best is sets with few reps and good quality, accumulated across the session: for example, several sets of 2-3 clean reps with full rest, instead of one set to failure that ruins the rest.
As the reps climb, heavy pulldowns and rows remain your allies for thickening the back and raising the strength ceiling. Once you do 10-12 clean pull-ups, the next step is to add weight (a belt with a plate), and the logic starts again: progressive overload, now with extra load.
How to build your pull-up plan
Putting it all together: dead hangs for the grip, pulldown and row for pulling strength, band or machine to practise the pattern with assistance, and slow negatives as the accelerator towards the first rep, all 2-3 times a week with real progression. Add the body-composition adjustment if your relative weight is the limiter, and consistency will do the rest in a few weeks.
Fitting all that together - which exercises, how many sets, which days and how to progress the assistance - is exactly what the Progrevia routine generator solves for you in seconds, adapted to your level and your equipment. You provide the consistency and the bar; the tool provides the plan.
The summary you should remember
The first pull-up is not about talent, but about method. Build pulling strength with pulldowns and rows you can actually load, practise the pattern with a band or machine while reducing assistance, and use slow negatives as the step that gets you closest. Train 2-3 times a week with full range and no swinging, look after your grip and, if needed, adjust your relative weight. With this plan, your first pull-up stops being a fantasy and becomes a matter of weeks.
- Youdas JW, Amundson CL, Cicero KS, et al. Surface electromyographic activation patterns and elbow joint motion during a pull-up, chin-up, or perfect-pullup rotational exercise. Journal of Strength and Conditioning Research. 2010;24(12):3404-3414.
- Dickie JA, Faulkner JA, Barnes MJ, Lark SD. Electromyographic analysis of muscle activation during pull-up variations. Journal of Electromyography and Kinesiology. 2017;32:30-36.
- Schoenfeld BJ, Grgic J, Van Every DW, Plotkin DL. Loading recommendations for muscle strength, hypertrophy, and local endurance: a re-examination of the repetition continuum. Sports. 2021;9(2):32.
Frequently asked questions
How long does it take to do your first pull-up?
Starting from zero and training the pull 2-3 times a week with an ordered progression (dead hang, pulldown, row, band and negatives), most consistent people achieve their first pull-up in 8 to 12 weeks. The time depends on your starting strength and relative weight, but method matters more than talent.
Which exercise helps most to get the first pull-up?
Negatives (eccentrics): you jump to the top and lower as slowly as possible for 4-6 seconds. Your eccentric strength is greater than your concentric strength, so you can control the descent long before you can pull up, and that builds exactly the strength you need. Lat pulldowns and heavy rows are the complement to gain lat strength.
Is the pronated pull-up or the supinated chin-up better?
For your first rep, the supinated chin-up (palms towards you) is usually more accessible because the biceps help more. The pronated pull-up (palms away) loads the lats more and is harder. Starting with the supinated grip and progressing towards the pronated one is a perfectly valid strategy.
How many times a week should I train pull-ups?
2-3 times a week, with at least a rest day between sessions. Vertical pulling responds well to frequency as long as each session is high quality: full range, no swinging and good technique. Alternate strength work (pulldown, row, negatives) with assisted pattern practice.
Are the band or assisted machine cheating?
No. Both reduce the effective load so you can practise the pattern and progress by reducing assistance gradually. The machine lets you lower the counterweight measurably; the band assists more at the bottom. What matters is not the tool, but reducing the help systematically until you reach the full pull-up.