Barbell squat technique: complete biomechanics-based guide for strength gains without injury
Published on
The squat is the king of strength exercises. It's also the most poorly executed exercise in any gym. These are the biomechanical errors holding you back and how to fix them.
The barbell squat is probably the most studied exercise in exercise science and, paradoxically, the most badly executed in recreational settings. There is no universal "perfect" squat pattern because individual biomechanics (femur length, hip socket depth, torso length) determine what an efficient, safe squat should look like for each person.
What does exist are invariable biomechanical principles that apply to every lifter, whatever their morphology.
The 5 most common biomechanical errors in the squat
1. Heels rising: this indicates insufficient ankle mobility or an incorrect balance point. The bar should stay over the mid-foot throughout the movement. If the heels lift, the centre of mass shifts and stress on the lumbar spine and knees increases.
Correction: specific ankle mobility work (calf and soleus stretching) and possibly temporary heel elevation while mobility improves. Squat training frequency itself also improves ankle mobility over time.
2. Knee valgus (knee cave): the knees drift inwards during the descent or ascent. This can indicate glute weakness (especially gluteus medius) or a motor pattern that will not correct without conscious activation.
Correction: specific gluteus medius work (clamshells, lateral band walks, banded hip thrusts) and tactical cueing during the squat ("push the knees out", "spread the floor"). In severe cases, review foot position (it may be too narrow for the individual's hip morphology).
3. Good-morning pattern (excessive butt wink + forward lean): the torso leans excessively forward and the pelvis posteriorly tilts ("butt wink") at depth, especially in deep squats. This can indicate insufficient hip mobility, an anatomical limitation of the hip socket or core weakness.
4. Descending too fast (not controlling the eccentric phase): lowering with excessive speed reduces time under tension, decreases the hypertrophy stimulus and can overload joint structures. A controlled 2-3 second descent is biomechanically more efficient and produces a greater training stimulus.
5. Chronic half-squatting (not reaching parallel): only going to 90 degrees or less reduces the active range of motion of the quads and glutes in the zone of greatest mechanical tension (the bottom of the movement). Scientific evidence consistently favours deep squats (parallel or ATG) over partial ranges for quad and glute hypertrophy.
Optimal setup: foot and bar position
Foot position varies with hip morphology. As a starting point: feet shoulder-width or slightly wider, toes turned out 15-30 degrees. Adjust until you find the position where you can descend with a neutral pelvis and as vertical a torso as possible.
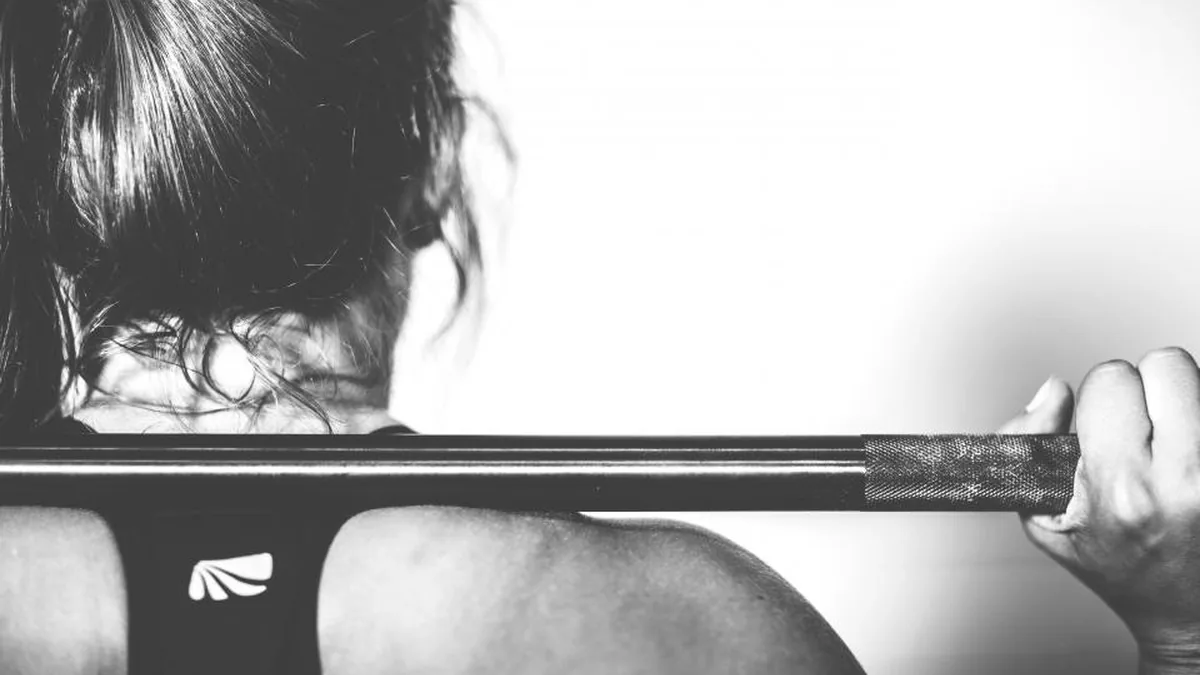
Bar position on the back also determines mechanics: high bar (on the traps) favours a more vertical torso and more quad work; low bar (on the rear delts) allows more torso lean and greater glute and hamstring involvement. Both variants are valid; the choice depends on goals and individual morphology.
Progressing squat technique
Technique improves with deliberate repetition and practice frequency. Training the barbell squat 2-3 times a week with moderate loads and conscious focus on the technical points produces faster technical improvement than doing it once a week with maximal load. Technique under fatigue is what counts: anyone can hold good form in the first set with a light load.
Specific mobility for the barbell squat: preparation routine
Mobility is frequently the limiting factor in squat technique, especially in people with sedentary jobs. The most critical joints are the ankle (dorsiflexion), the hip (flexion and internal rotation) and the thoracic spine (extension).
Pre-squat mobility protocol (10 minutes):
- Wall ankle mobility: 10 reps per side, driving the knee forward with the heel on the floor
- Hip opening in quadruped (world's greatest stretch): 5 reps per side, bringing the elbow to the floor each rep
- Thoracic rotation with a band: 10 reps per side
- Goblet squat with a pause at the bottom: 2 sets of 5 reps with a 3-second pause at the bottom to accumulate time in the deep position
This mobility routine not only prepares you for squatting but, practised consistently before each session, improves permanent mobility in the joints involved.
Squat variants and when to use each
High bar back squat: the bar position on the traps favours a more vertical torso and greater knee range of motion. It produces greater quad activation and is the most technically demanding variant in terms of ankle mobility. Preferred for quad hypertrophy training.
Low bar back squat: the bar on the rear delts allows more torso lean and a greater hip moment arm. It lets you lift more total load and is the standard variant in powerlifting. Preferred for maximising load in competition.
Front squat: bar at the front of the shoulders (rack position). It forces a very vertical torso and maximum hip and ankle mobility. Greater quad and core activation than the back variants. Excellent for improving overall squat posture.
Bulgarian split squat: rear foot elevated, unilateral work. It detects and corrects imbalances between legs, gives greater glute activation and less spinal loading. Ideal as a complementary exercise or when back limitations contraindicate heavy bilateral squatting.
Load and progression: how much weight to put on the squat
A frequent mistake is adding too much weight too quickly to the squat. The squat is a technical exercise requiring consolidated technique before chasing maximal loads. A practical progression guide:
Beginner: add 2.5-5 kg per training session while technique holds. This linear progression can be sustained for 3-6 months in well-fed beginners. Intermediate: add 2.5kg per week. If you fail one week, keep the load and try again the following week before reducing it. Advanced: progression is measured in months, not weeks.
Squat variants and when to use each one
High bar back squat: the most common version. The weight rests on the upper traps. It requires more knee and ankle flexion and activates more quad. It is the easiest variant to learn and the most recommended for beginners.
Low bar back squat: the weight rests on the rear traps and rear delts. It lets you handle more total load because the moment arm is more favourable. Greater glute and hip activation. Preferred by powerlifters.
Front squat: the bar rests on the front delts. It requires more ankle and wrist mobility. It produces greater quad activation and less lumbar stress. A favourite of weightlifters and leg-focused bodybuilders.
Goblet squat: with a dumbbell or kettlebell at the chest. The most technically accessible. It automatically teaches correct posture (upright torso, knees out). Ideal for beginners and warm-ups.
Mobility to improve your squat
The most common restrictions limiting the squat are:
Ankle (limited dorsiflexion): if the heel lifts on the way down, you need more ankle mobility. Exercise: calf stretch with a bent knee (soleus stretch). You can also slightly elevate the heels with plates while you develop the mobility.
Hip (limited rotation and flexion): if the knees collapse inwards or the pelvis tilts excessively, work on hip mobility. Exercise: pigeon pose, 90/90 hip stretch.
Thoracic mobility: if the torso falls forward in heavy squats, the thoracic spine may be stiff. Exercise: thoracic foam rolling, cat-cow with emphasis on extension.
Spend 5-10 minutes on specific pre-squat mobility and technique will improve significantly in 4-8 weeks.
The most common technical errors and how to correct them
Error 1 - Heels lifting: generally insufficient ankle mobility or quad weakness. Short-term fix: slightly elevate the heels with plates or weightlifting shoes. Long-term fix: daily ankle mobility work.
Error 2 - Knees collapsing inwards (valgus): gluteus medius weakness or lack of activation. Fix: activation exercises (monster walks, clams) before squatting. Verbal cue: "push the knees out".
Error 3 - Excessive forward torso lean: insufficient hip or ankle mobility, or weak spinal erectors. Fix: goblet squats to teach the correct position, hip and ankle mobility.
Error 4 - Butt wink (the pelvis tilts forward in the bottom position): can be insufficient hip mobility or excessive depth for the individual's anatomy. Fix: reduce depth to just before the wink appears, working on hip mobility in parallel.
Error 5 - Incorrect breathing: exhaling during the concentric phase before reaching the top. Fix: maintain intra-abdominal pressure (Valsalva or box breathing) throughout the rep; release the air only when the hips are fully extended.
8-week programme to master squat technique
Weeks 1-2: squat with a stick or an empty bar (20 kg). Focus on foot position, knee tracking, torso position and depth. 4 sets of 10 very slow, controlled reps, filming yourself from the side to self-assess. Weeks 3-4: add small loads (40-50% of the weight you think you can move). Keep the same technical emphasis. If something breaks down when adding load, reduce it and work the weak point. Weeks 5-6: work between 60-70% of your estimated 1RM. Technique should be solid and automatic at this intensity. If it is not, do not go further until it is. Weeks 7-8: work between 75-85%. Introduce progressive warm-up sets (as described in the RAMP protocol). Assess: is the technique still the same as in week 1 with an empty bar? If yes, you have built the technical base. If not, identify the breaking point and work specifically on that aspect for another 4-8 weeks before continuing to add load.
The barbell squat as an indicator of functional health
Beyond sporting performance, the barbell squat is one of the best available indicators of functional health. The ability to squat down with an upright back and stand up unaided reflects ankle, hip and thoracic spine mobility, quad, glute and hamstring strength, motor control and core stability. Longevity studies show that the ability to get up off the floor without support (which is fundamentally a squat) predicts mortality decades later. Learning to squat well is not just for the gym: it is learning the fundamental human movement pattern with the greatest impact on long-term quality of life.
Resources for continuing to improve technique
For those who want to go deeper into squat biomechanics, the most complete available resources are: "Starting Strength" by Mark Rippetoe (exhaustive technical analysis), Alan Thrall's YouTube channel (practical cues and error comparisons), and Greg Nuckols' articles at Stronger by Science (applied scientific evidence). The barbell squat is a movement you learn over months and perfect over years. Never stop working on technique.
The technical improvement cycle: it never ends
Even elite lifters with decades of experience work on squat technique in every warm-up. The difference between a novice and an expert is not that the expert "already knows": it is that the expert has more things they can notice and adjust. Technical learning in the squat never ends; it becomes more subtle, deeper and more specific with experience.
Starting point
The barbell squat is the most complete exercise in the gym. Investing time in learning to do it well does not only improve your training: it improves your posture, your mobility, your functional strength and your long-term quality of life. It is the best technical investment you can make as an athlete.
Going below parallel: what the review says about knee loading
"Don't go so deep, you'll wreck your knees." It is probably the most frequent unsolicited advice in the rack area, and a 2013 review in Sports Medicine concluded exactly the opposite.
Hartmann, Wirth and Klusemann reviewed the literature on knee and spinal loading as squat depth and lifted weight vary. Their finding runs against intuition: the deep squat produces less stress on the knee joint than the half and quarter squat. And they add a warning about the latter: with comparable supra-maximal loads, partial squatting favours degenerative changes in the knee and spinal joints.
The explanation the authors give is interesting because it shows why the old recommendations got it wrong. Those warnings against deep flexion did not account for three things: the wrapping effect of tissues around the joint in maximum flexion, the functional adaptations of the tissue itself to training, and the soft tissue contact between the back of the thigh and the calf, which shares part of the load at the end of the range.
| Depth | Knee stress | Risk flagged |
|---|---|---|
| Deep (below parallel) | The lowest of the three | None highlighted, with technique learned under supervision |
| Half | Higher than deep | Degenerative changes with supra-maximal loads |
| Quarter | Higher than deep | Degenerative changes in knee and spine |
The condition the authors themselves set is the one not to skip: all of this holds provided technique is learned accurately and under expert supervision. The review does not say deep squatting is harmless in every circumstance; it says that, with the technique learned, the deep squat is an effective exercise for protecting against injury and strengthening the lower limb.
Translated into your training: if your ankle and hip mobility let you descend without the pelvis tucking under, going deep is the safer option, not the riskier one. And if it does not let you yet, the problem to solve is mobility, not depth.
- Hartmann H, Wirth K, Klusemann M. Analysis of the load on the knee joint and vertebral column with changes in squatting depth and weight load. Sports Medicine. 2013;43:993-1008.
Frequently asked questions
How deep should I squat?
The optimal squat depth is as deep as you can maintain a neutral spine (no posterior pelvic tilt or "butt wink") through the full movement. For most people, this is at or below parallel (crease of the hip below the knee). Research consistently shows deep squats (parallel to ATG — "ass to grass") produce greater quad and glute activation and hypertrophy than partial squats. However, squatting with poor technique at depth is worse than a quality partial squat — work on mobility while training at your current best depth.
Should my knees go past my toes when squatting?
Yes, for most people. The "knees should not go past toes" myth has been thoroughly debunked. Research shows that restricting forward knee travel actually increases stress on the lower back and hips. Controlled forward knee travel is biomechanically normal and necessary for full depth squats. The issue is not whether the knees travel forward, but whether they do so with control and in alignment with the foot (not collapsing inward).
High bar vs low bar squat: what's the difference?
High bar (bar on upper trapezius): more upright torso, greater forward knee travel, higher quad activation. Preferred for hypertrophy and Olympic weightlifting. Low bar (bar on posterior deltoid): more forward lean, less knee travel, greater hip and glute involvement, typically allows higher absolute loads. Preferred for powerlifting. Both are excellent choices — pick based on your goals and which position feels more comfortable and natural for your proportions.
How do I fix knee valgus (knees caving in) during squats?
Knee valgus typically has two causes: weak hip abductors and external rotators (mainly gluteus medius), or foot placement too narrow for your hip morphology. Fix: add lateral band walks, clamshells, and banded hip thrusts to strengthen the gluteus medius. Try widening your stance slightly and turning toes out more (15–30°). During squatting, consciously cue "push your knees out" or "spread the floor." In most cases, addressing these factors resolves knee valgus within 4–8 weeks.
How long does it take to develop good squat technique?
For a complete beginner, 8–12 weeks of consistent practice (2–3 squatting sessions per week) is typically sufficient to develop functional technique at moderate loads. Perfect technique at heavy loads takes 1–2 years of deliberate practice. The most efficient approach: train the squat 2–3 times per week with moderate loads and explicit focus on the technical points you are working on, rather than maximal loads once per week where fatigue compromises form.